
Decided to make lace shorts for my girls after seeing a pair at the mall for about $25! I think that's way too much for a pair of lace shorts for kids! They outgrow them so fast and with 5 girls ... well ya that just adds up too quickly. I love to shop bargain, and to check out my favorite fabric store SAS in Phoenix, AZ, or sometimes even Goodwill for great finds and deals. SAS has great lace on sale for $2 a yard 60" wide different color laces which is a smoking deal! Well, SAS is way too far from my home (about an hour or so) so I went to this Goodwill that's a bit closer to my house that usually carries lots of fabric choices and since it was half off day I was like "why not". I was thrilled to find lace and lace trims and ribbons! Exactly what I wanted! I bought about 2 yards of cream colored lace for $1.49 and a bag of cream colored lace trims for $1.49 as well. Talk about a great deal. I also found a couple of other fabrics that I had to get because the price was well just too good to pass up.
Now, let's start this tutorial :) I'm not that great at explaining everything in detail but I hope the pictures speak for themselves.
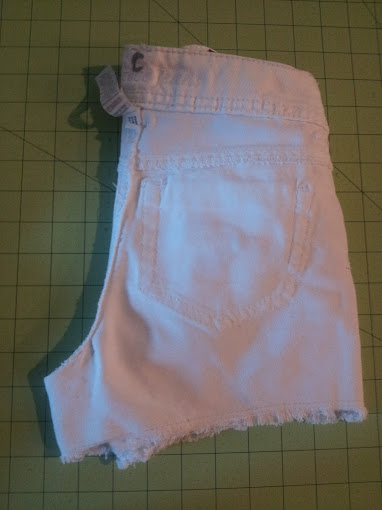
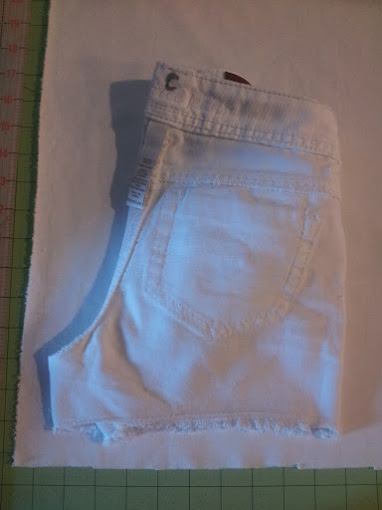
First, I grabbed a pair of shorts that fit my girls well and made a pattern. If you already have shorts pattern that's great you can use your own pattern. Check out this page from this amazing blogger MADE if you'd like more tips on how to make shorts Sewing KID Shorts.
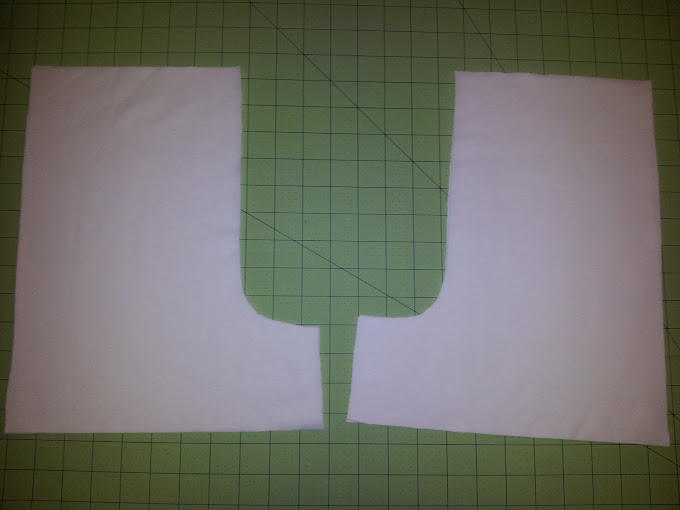
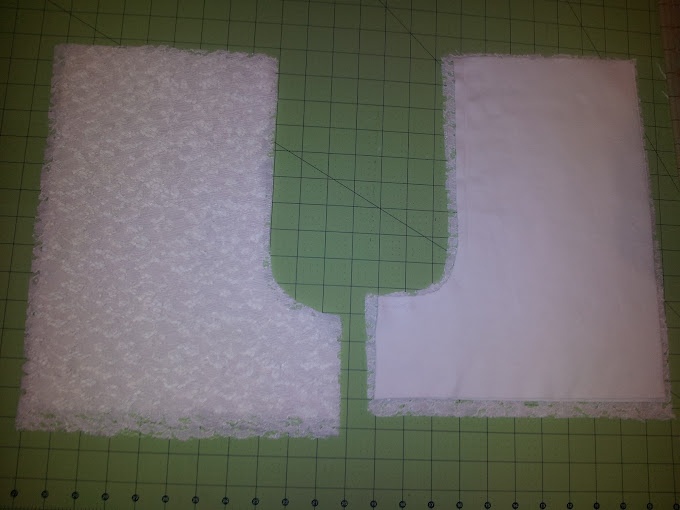
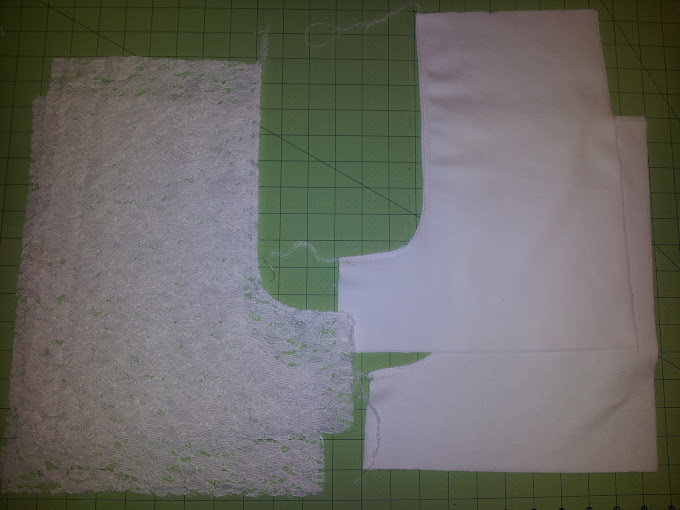
Cut pattern out one out of lining and one out of lace.
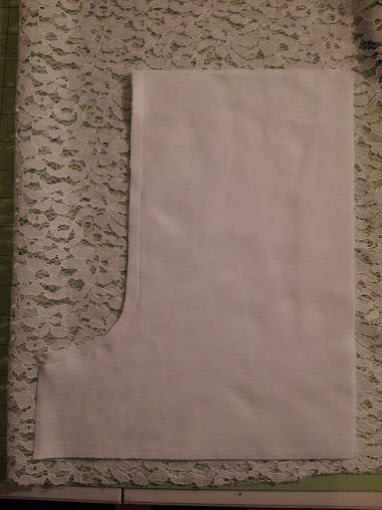
Sew the lining short separate and the lace short separate.
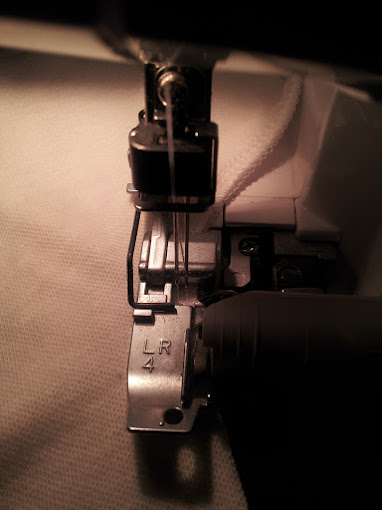
If you'd like to you can serge them for a more professional clean look.
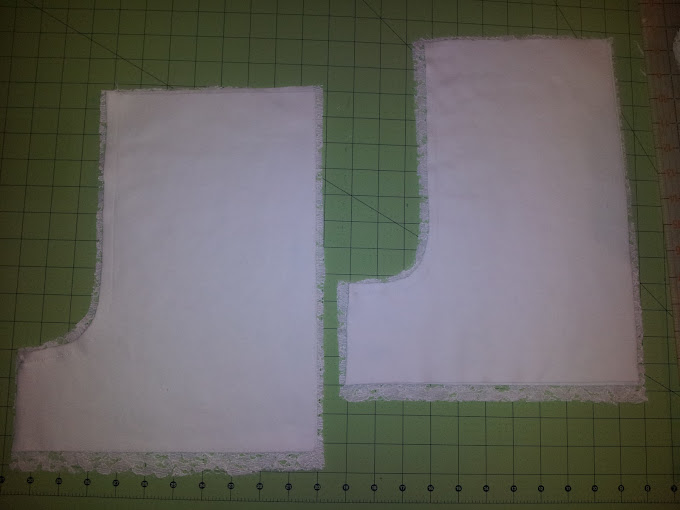
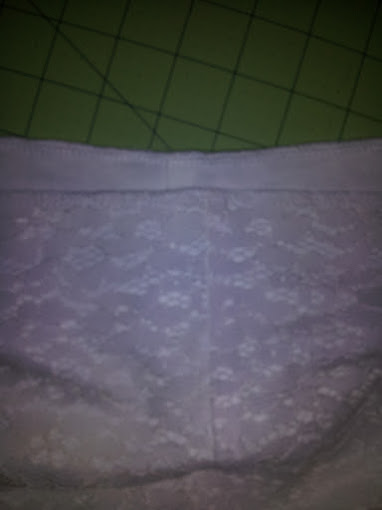
Now line the lace and lining together on top of each other like this.
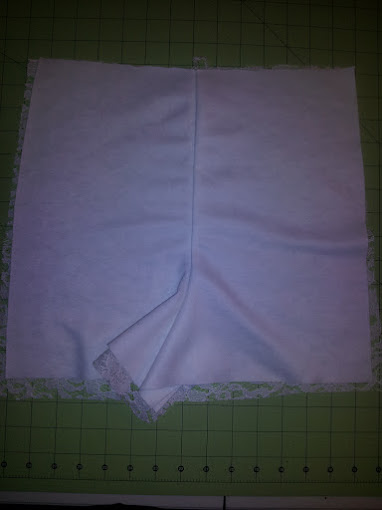
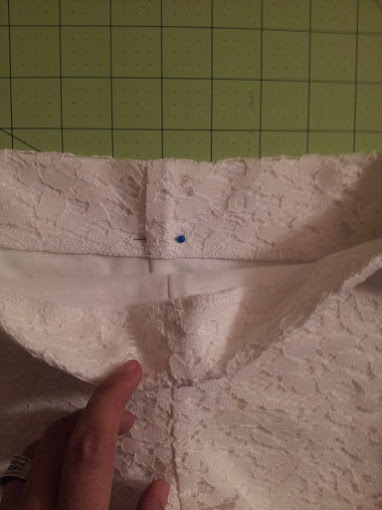
Now for this step you can sew or serge the lace pattern separate and the lining pattern separate, and then put them inside each other and continue like that (will make a diff tutorial to show you what I mean) but I just went the easier faster way this time. It was 1 am already and I just wanted to finish so I can get some sleep already. The rest of the shorts were made separately (lace separate, lining separate then attached together). Next, I sewed and serged the crotch area and sides together like this.
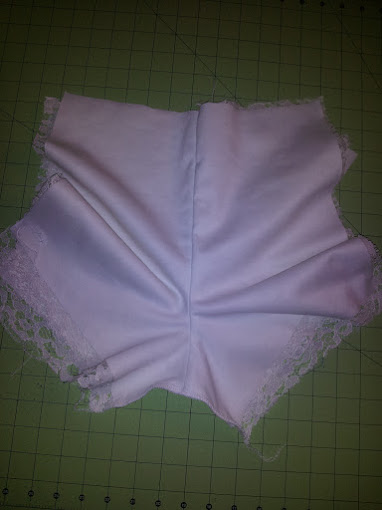
Next I serged the lining and lace at the top of the shorts together.
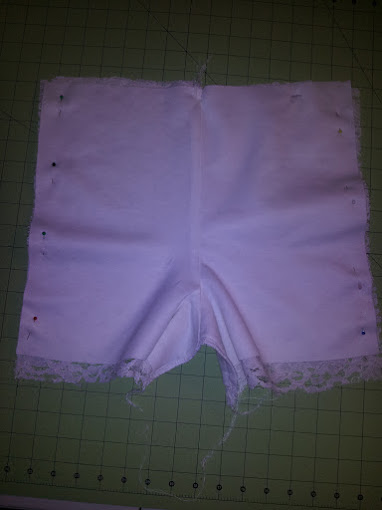
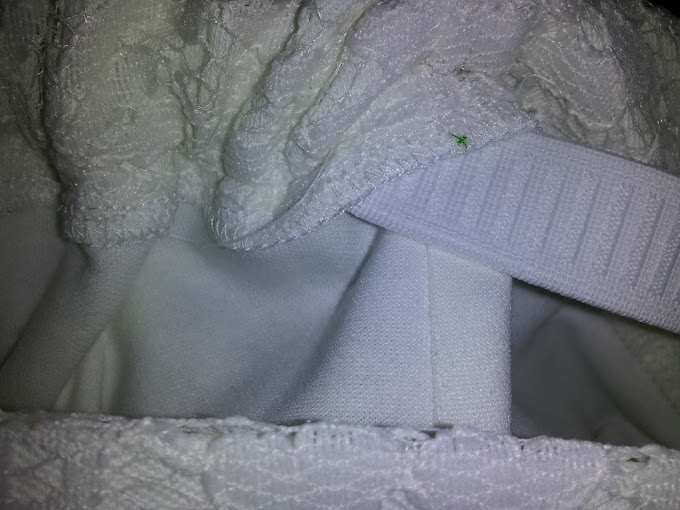
Time to put the elastic! I folded the top of shorts down about an inch and ironed it flat down. Then I sewed all around leaving a small gap enough to fit an opening for the elastic to go through.
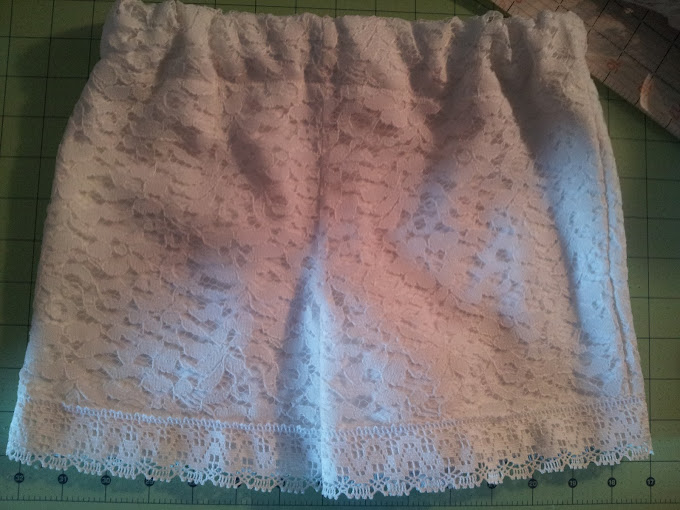
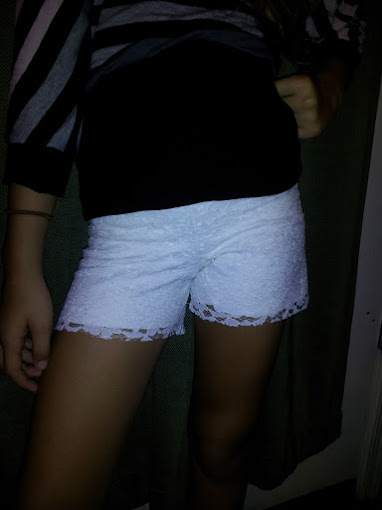
They turned out nice, for my first pair of lace shorts :) I'm quite satisfied.
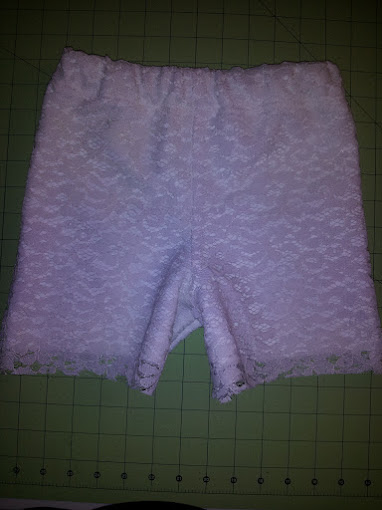
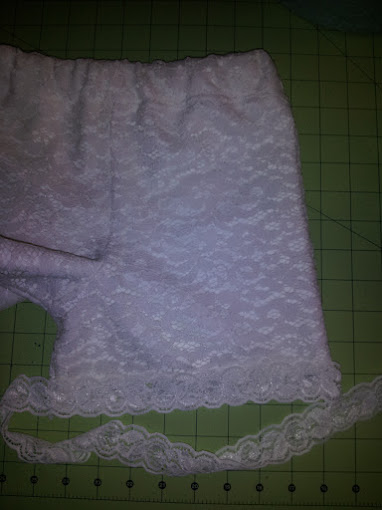
Next I serged the bottom of the shorts and took out my lace trim stash to decide which would go better.
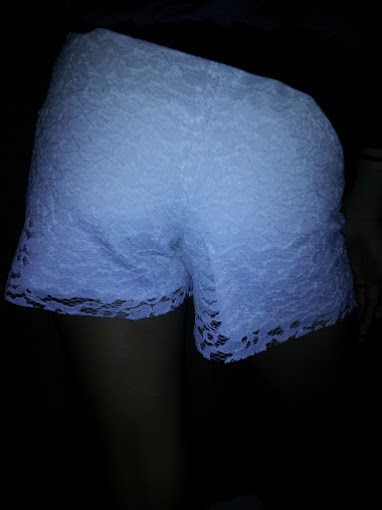
As I was trying to finish up the first pair of shorts and deciding which lace trim to use, one of my girls woke up to get a drink of water which was a perfect chance for me to have her try on the shorts on her and see how they fit....She was a little hesitant at first but was happy to see what they'd look like on. Not too bad....
Lastly, I added some lace trim to make them look more complete and beautiful. I decided to go with this lace I found at SAS a while back which I got for a great deal ~ 10 yds for $1.00! Can't go wrong with that and it was perfect because it was enough to go around for all 5 pairs of lace shorts :)
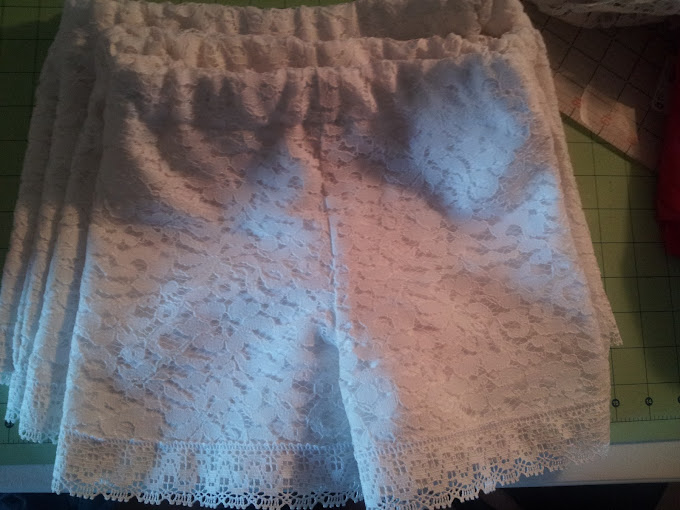
First pair took about an hour or so to make since I had to make a pattern. The rest I made them the following day and were super easy and fast to make. I made 2 pairs in one hour and in total I've made 5 pairs of lace shorts for my girls to wear with beautiful shirts. I know only 4 are pictured, my daughter was loving hers too much to take them off and let me take a pic of all of them together :)
No comments:
Post a Comment